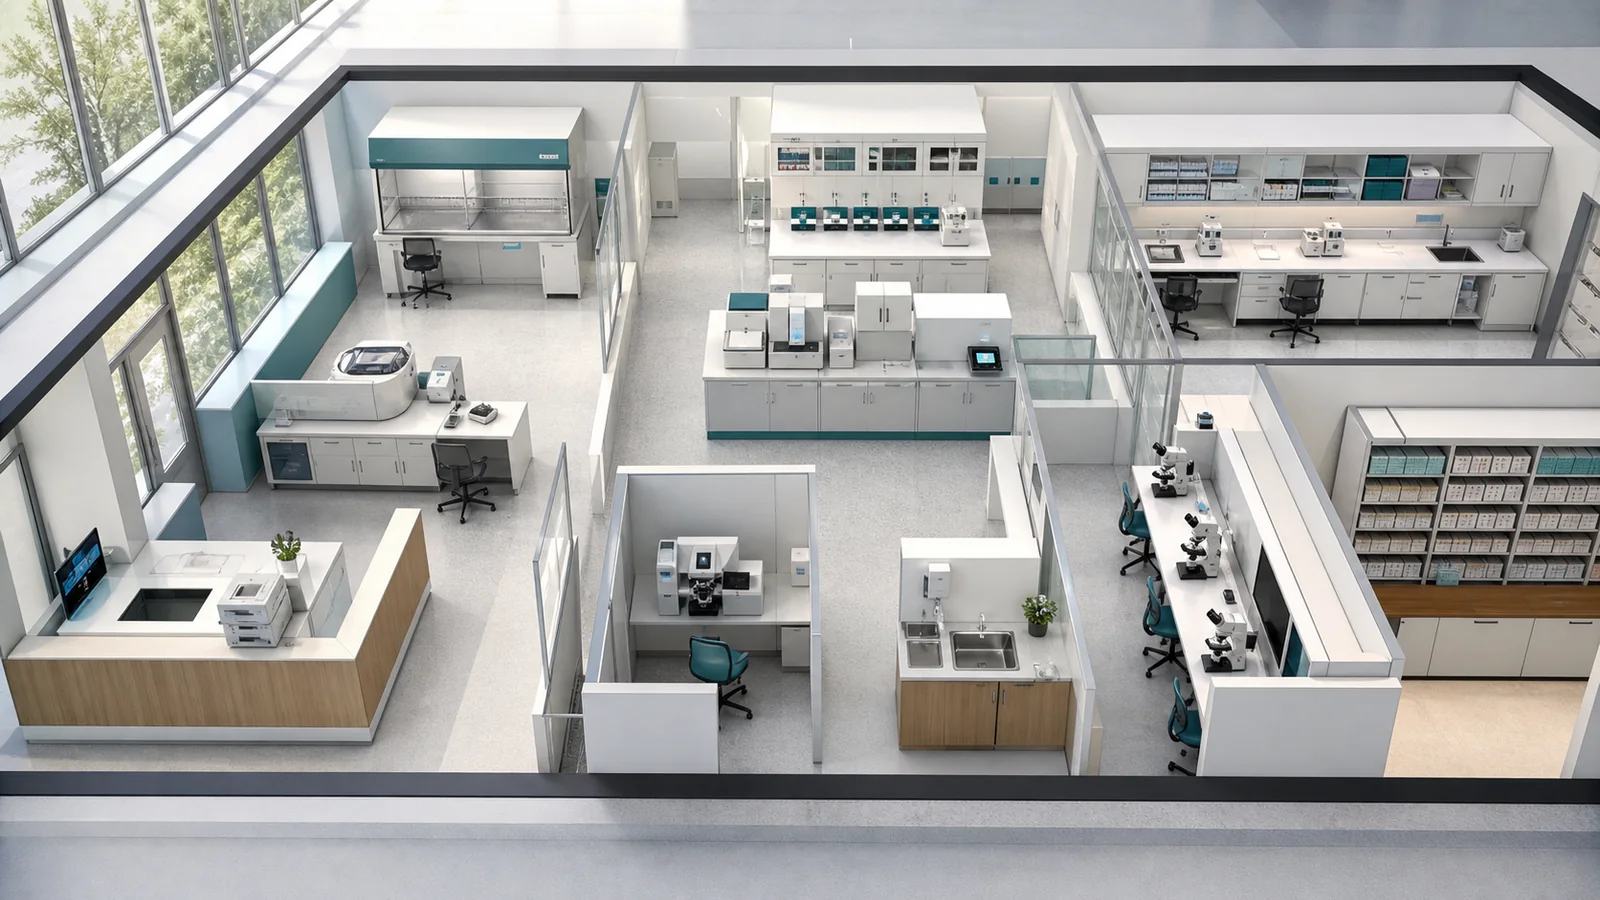
01
Map the specimen journey before drawing rooms
Start with a verified process map that follows material from the hospital handover point to final retention or disposal. Record who receives it, where identifiers are checked, which containers are opened, what information accompanies it, and where it waits between steps. Include exceptions such as urgent frozen sections, oversized specimens, delayed fixation, rework, returns, and after-hours receipt. These exceptions often reveal crossings that a simple daytime diagram hides.
The WHO risk-assessment approach asks teams to consider receipt, transport, processing, and disposal together. Apply that principle by drawing separate lines for specimens, staff, clean consumables, chemicals, finished slides or blocks, records, and waste. The drawing should identify hand-off points and direction of travel without promising a universally one-way laboratory. Where two routes must cross, document the operating control or spatial buffer that the hospital will review.
02
Separate exposure conditions, not just departments
A useful boundary follows the condition of the work. CDC diagnostic-laboratory guidance treats surgical pathology areas handling fresh specimens or body fluids in open rooms as dirty areas. That distinction supports controlled access and a deliberate transition between receiving or grossing work and offices, staff amenities, report preparation, or other low-exposure functions. The precise boundary still depends on the procedures and controls confirmed by the hospital's risk team.
Chemical tasks need their own review. Formalin fixation and solvent-based processing or staining can create exposure concerns that are different from biological handling. Locate capture or containment measures near the generating task, reserve service and maintenance access, and keep incompatible storage or waste decisions out of general bench planning. Exhaust, monitoring, spill response, and emergency equipment must be selected by qualified local professionals against the actual substances, quantities, processes, and regulations.
03
Build adjacencies around hand-offs and turnaround
The preferred sequence is usually short and legible: receipt and accessioning connect to the first preparation step; grossing connects to fixation and processing; embedding connects to sectioning; staining and coverslipping connect to review and dispatch. Adjacency does not mean every activity belongs in one open room. Doors, pass-through arrangements, controlled holding points, and observation panels can preserve communication while supporting the selected exposure controls.
Urgent work deserves a separate trace through the plan. A frozen-section route may depend on rapid communication and a different equipment chain from routine paraffin processing. Mapping it explicitly helps the team protect routine benches from interruption and locate data, telephony, clean work surfaces, and temporary holding space where they are needed. Any timing target should come from the hospital's service model rather than from furniture planning assumptions.
04
Coordinate furniture with equipment and building services
Freeze neither the bench schedule nor the room layout until the equipment register is sufficiently mature. Grossing stations, processors, embedding centres, microtomes, staining systems, coverslippers, microscopes, scanners, refrigerators, cabinets, and computer workstations impose different requirements for load, vibration, heat rejection, drainage, extraction, power, data, ergonomics, and service access. Capture manufacturer information and maintenance envelopes as project inputs, not as values inferred from a generic product family.
Use modular furniture where it genuinely preserves future change. NHS pathology-facility guidance emphasizes flexibility and adaptable laboratory modules, but modularity still needs a stable service strategy. Separate fixed building interfaces from items that can move, identify isolation points, protect aisle and door clearances, and avoid trapping maintainable equipment behind permanent casework. Mock-ups are especially useful for seated microscopy, repetitive sectioning, specimen transfer, and paired computer work.
05
Turn the zoning diagram into a review record
A zoning plan is ready for coordination when each area has a named purpose, users, access rule, input and output, equipment list, utility demand, storage need, cleaning method, waste route, and unresolved decision. Mark interfaces that require biosafety, occupational hygiene, infection-prevention, fire, engineering, accessibility, or information-governance review. This converts a coloured floor plan into a responsibility matrix that can be tested against real operating scenarios.
Revisit the map whenever procedures, staffing, instruments, specimen volumes, or facilities change. CDC guidance treats risk assessment as a continuing process and recommends reassessment when activities, people, instrumentation, or facilities change. Before procurement, run tabletop walk-throughs for routine receipt, an urgent specimen, a spill, equipment servicing, waste removal, and loss of a critical utility. Record decisions and residual questions; do not treat the illustration or this article as approval for construction or operation.