01
Map the sample journey before counting benches
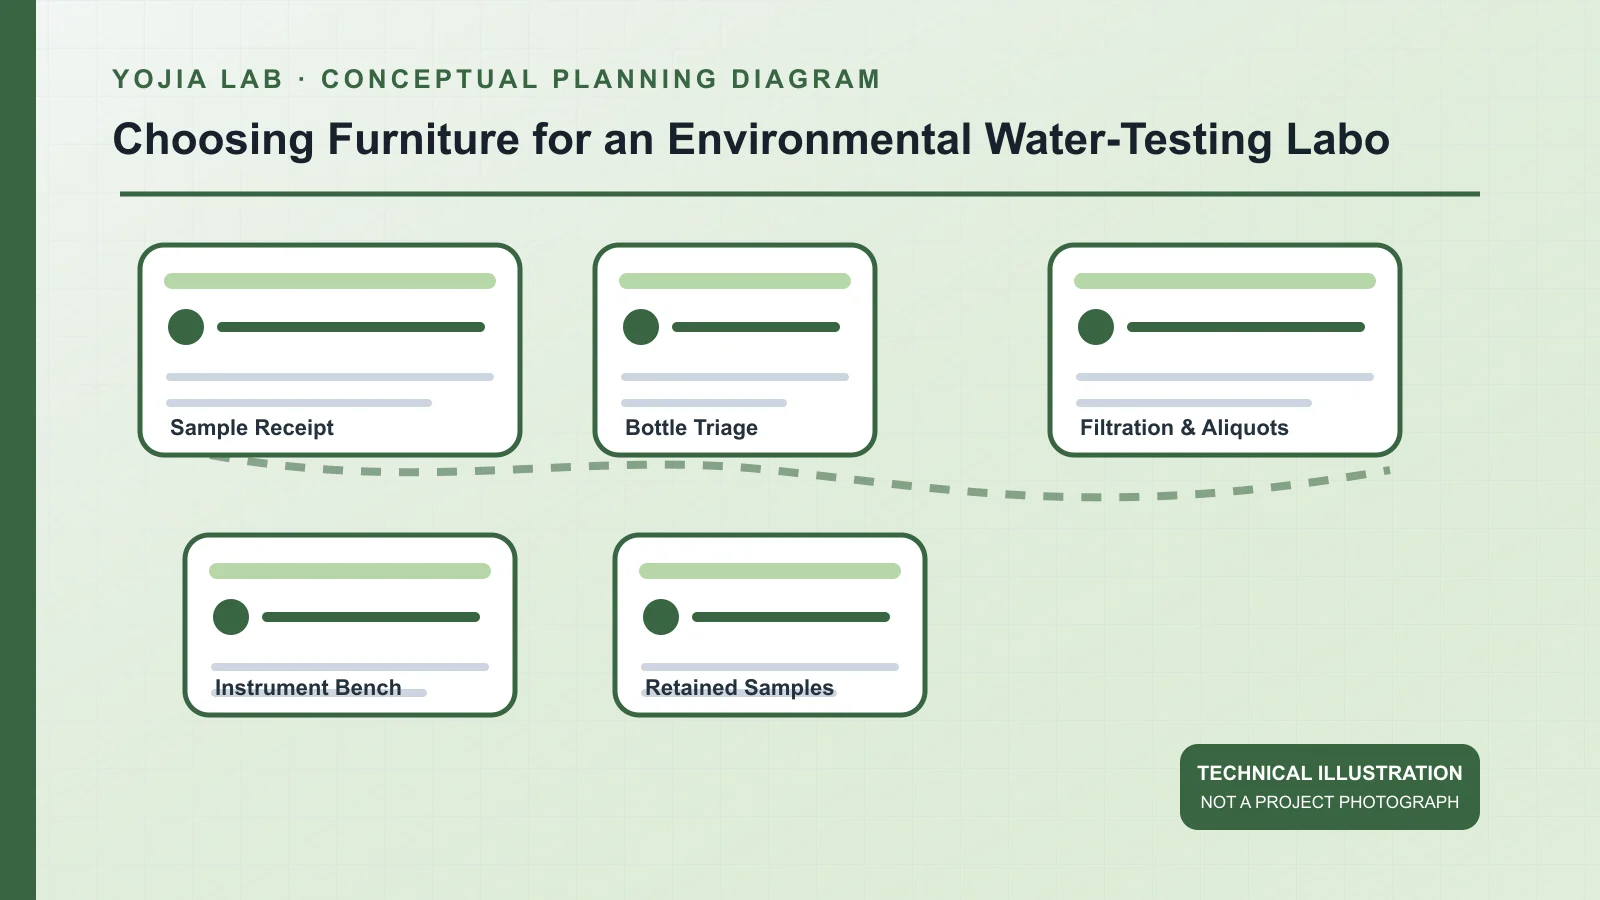
Start with a small set of representative workdays, not a generic room label. Trace one routine sample, one priority sample, and one sample that needs extra preparation from arrival to final disposition. Mark where a bottle is logged, where its seal is broken, whether it is split or filtered, when a preservative is added, which instrument receives the aliquot, and where the remaining material waits. The USGS National Field Manual separates collection, equipment cleaning, sample processing, and measurement procedures; that distinction is a useful planning prompt because each activity can need a different clean surface, sink relationship, or storage position.
Put those steps on a simple adjacency sketch and annotate direction of movement. The aim is not to claim that one universal sequence fits every water program. A drinking-water screen, a wastewater permit sample, and a trace-organics investigation can have different method controls. Instead, identify the steps that must stay apart in this laboratory and the handoffs that must stay visible. Furniture selection becomes easier when the team can point to a specific task and say what must be within reach, what must remain protected, and what must never become a general drop zone.
02
Separate receipt, open handling, and clean preparation
A practical furniture plan often begins with a receipt position that can hold sealed containers, labels, coolers, and paperwork without occupying the analytical work surface. It should let staff confirm identity and route a bottle before opening it. Next, define an open-sample preparation position for the work that actually occurs there: mixing, subsampling, filtration, or other method-specific handling. Keep clean containers, standards, and unused tools on a distinct protected surface or in assigned storage so that an incoming cooler cannot displace them. This is a workflow boundary that the laboratory must validate, not a claim that two benches alone prevent contamination.
For each position, specify the furniture task rather than just a room coordinate. A wall bench may keep a continuous preparation run against services; an island may support two-sided access when staff and equipment need to share a center work zone. Neither form is automatically better. Sketch the route for a cooler, waste container, cart, and operator, then check door swings, aisle width, emergency equipment access, and the reach to sinks or local exhaust. Princeton's institutional design guidance emphasizes cleanable work surfaces and coordination of furniture with hood airflow; its recommendations are a planning reference, not a substitute for the project's own safety review.
03
Give instruments a work position, not leftover countertop
Instrument benches should be scheduled from the equipment list and the method sequence. Record the actual instrument footprint, the manufacturer's service and ventilation clearances, any leveling or vibration sensitivity, power and data connections, sample loading direction, and the location of the operator's screen or notebook. Reserve access for maintenance and replacement. A long bench that looks spacious on paper can still fail if cables cross a wet preparation path, a refrigerator door blocks the operator, or the instrument must be pulled out through a fixed cabinet opening.
Treat field meters, balances, incubators, and analytical instruments as different work cases. Some need a dry, stable position; others need nearby water, a drain, a local exhaust connection, or a clear route to prepared samples. Do not assume a sink belongs beside every instrument or that one continuous surface should connect every task. Draw the equipment's normal operating envelope and its maintenance envelope, then choose fixed, mobile, or open-bay furniture to preserve both. Confirm service locations with the equipment supplier and the facilities engineer before casework dimensions are frozen.
04
Match surfaces and storage to methods and exposure
There is no single countertop answer for every environmental water laboratory. The work surface may encounter dilute samples, concentrated preservatives, digestion heat, cleaning agents, or only sealed bottles, and these exposures are not interchangeable. Build a compatibility schedule by position: list the chemical names and concentrations, contact duration, temperature, cleaning method, and likely spill scenario, then ask the furniture supplier for documented compatibility for the proposed surface, seams, edges, and accessories. Do not infer resistance from a material-family name or turn a compatibility table into a safety certification.
Storage also follows method state. Separate clean bottles and filters from used equipment, active sample queues from retained material, and chemical stocks from ordinary supplies as required by the laboratory's own procedures. EPA's SW-846 guidance explains that container, preservation, and holding-time choices depend on analytes, matrix, and project objectives; the recommendations in that chapter are guidance and are not universal requirements. Translate the laboratory's approved method list into storage types and locations rather than specifying one refrigerator or cabinet for every sample. Leave unresolved capacity or temperature questions as explicit design inputs.
05
Turn the plan into a reviewable furniture schedule
A useful schedule links each work position to a named task, user, equipment item, surface exposure, storage need, service connection, and cleaning method. Add a drawing reference and mark who owns each open decision: laboratory manager, safety officer, equipment supplier, architect, or mechanical and electrical engineer. OSHA's laboratory standard calls for a written Chemical Hygiene Plan with operating procedures, exposure controls, and attention to the function of protective equipment where the standard applies. That makes the project's safety review an input to furniture coordination, not something a furniture quote can replace.
Before ordering, walk through a normal busy shift with staff and a marked floor plan. Test the route from sample receipt to each preparation and analysis position, include a cart and waste containers, and check whether someone can clean each surface without moving active samples. Review the mock-up or shop drawings against instrument cut sheets, the method list, and local requirements. Where the program is likely to change, ask which benches can be moved or reconfigured without disconnecting fixed services. A good selection record makes assumptions visible and gives future renovations a traceable starting point.
Selection here is a room configuration, not a generic catalog. Put the dimensions, materials, and interfaces to confirm for the wall laboratory bench run next to what a laboratory furniture manufacturer in China can answer from drawings and a written brief.